
10 Tips for Choosing the Best IR Imaging Sensor
Choosing the right Ir Imaging Sensor is rarely a simple matter of comparing resolution numbers. A higher pixel count may reveal finer roof damage, yet it can perform poorly in fog, dust, or low-temperature scenes. This guide, “10 Tips for Choosing the Best IR Imaging Sensor,” examines the practical decisions behind reliable infrared imaging.
Paul W. Kruse, a respected infrared detector researcher, wrote, “The detector is the heart of any infrared system.” That principle still matters. Lens material, spectral range, thermal sensitivity, frame rate, calibration, and operating temperature must work together. A sensor installed beside a furnace faces different demands than one mounted on a drone at night.
Look beyond the datasheet.
Begin with the target scene. Measure object size, viewing distance, temperature range, and expected atmospheric interference. A 640 × 512 sensor may be unnecessary for a close inspection, while a low-resolution model may miss a small overheated connector from ten meters away. Check NETD, not only image sharpness. Review calibration stability across changing temperatures. Ask whether software corrections remain available after deployment.
Some choices are still uncomfortable. The most expensive sensor is not automatically the most dependable. I have seen impressive specifications hide weak integration support and difficult maintenance. That possibility deserves attention. A careful buyer should test samples, compare real images, and challenge optimistic claims. The best Ir Imaging Sensor is the one that produces useful evidence under actual working conditions, not merely attractive images in a controlled showroom.
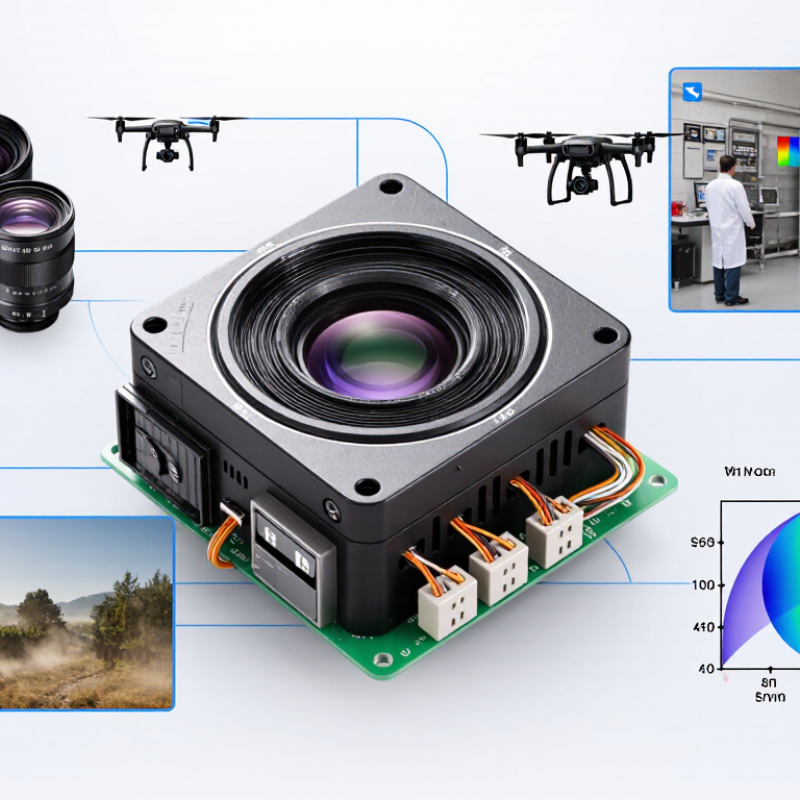
Define the Imaging Task and Required Infrared Wavelength
Define the Imaging Task and Required Infrared Wavelength
Start with the scene, not the sensor. Define what the camera must reveal: heat, moisture, gas, reflected light, or movement in darkness. A temperature inspection usually requires mid-wave or long-wave infrared sensitivity. Material sorting may need near-infrared or short-wave infrared response. These bands behave differently.
Match the wavelength to the target’s physical signature. Near-infrared often depends on available illumination, while short-wave infrared can expose differences in plastics, coatings, and moisture. Mid-wave infrared can support high-temperature measurements and certain gas observations. Long-wave infrared is widely useful for people, buildings, and equipment temperature patterns. Check atmospheric transmission, target emissivity, lens materials, and detector response before selecting a device. A wider band is not automatically better.
Test the sensor with real samples. Use the same distance, viewing angle, background, and lighting found in operation. Compare a warm pipe, wet surface, or low-contrast object against a calibrated reference when measurement accuracy matters. A neat specification sheet can still mislead. In practical evaluations, small reflections from metal surfaces often create surprising readings. I still treat early results as provisional. This caution is useful. Record environmental conditions and repeat the test after temperature, humidity, or illumination changes.
| Tip | Imaging Task | Recommended Spectral Range | Typical Sensor Technology | Why This Range Is Suitable | Key Selection Criteria | Main Limitations |
|---|---|---|---|---|---|---|
| 1 | Inspect silicon wafers, solar cells, and semiconductor structures | Near-IR / SWIR: approximately 0.9–1.7 µm | InGaAs focal-plane array | Silicon becomes increasingly transparent at longer near-IR wavelengths, allowing inspection of features that are difficult to see in visible light. | Pixel pitch, quantum efficiency near 1.3–1.55 µm, spatial resolution, and uniformity correction | Limited sensitivity beyond the detector cutoff; optical materials and coatings must support SWIR transmission. |
| 2 | Sort food, plastics, pharmaceuticals, or agricultural products by material composition | SWIR: approximately 1.0–2.5 µm | Extended-range InGaAs or cooled short-wave infrared detector | Molecular overtones and combination bands in the SWIR can reveal moisture, chemical composition, and material differences. | Spectral response, signal-to-noise ratio, illumination stability, and wavelength calibration | Extended-range detectors generally have higher dark current and may require cooling compared with standard 0.9–1.7 µm devices. |
| 3 | Detect hot surfaces, flames, exhaust plumes, and high-temperature equipment | MWIR: approximately 3–5 µm | InSb or cooled MCT focal-plane array | The 3–5 µm atmospheric window provides strong sensitivity to high-temperature radiation and can reduce the impact of some atmospheric absorption bands. | Noise-equivalent temperature difference, integration time, cooling method, and dynamic range | Cooled operation increases power use, system size, startup time, and maintenance requirements. |
| 4 | Measure surface temperature in buildings, machinery, electrical systems, and human environments | LWIR: approximately 8–14 µm | Uncooled microbolometer array | Most objects near ambient temperature emit substantial thermal radiation in the long-wave infrared region, making this band practical for thermal imaging. | NETD, temperature range, calibration stability, pixel pitch, frame rate, and emissivity compensation | Readings can be affected by surface emissivity, reflected radiation, humidity, viewing angle, and atmospheric transmission. |
| 5 | Image through smoke, haze, or low-visibility conditions | Choice depends on the scene: SWIR 1.4–1.7 µm, MWIR 3–5 µm, or LWIR 8–14 µm | InGaAs, cooled MWIR detector, or uncooled microbolometer | Longer wavelengths can scatter less than visible light, while MWIR and LWIR can also provide thermal contrast when visible contrast is weak. | Atmospheric path length, humidity, aerosol type, thermal contrast, and required frame rate | No single band performs best in every type of smoke, fog, dust, or humidity; field testing is recommended. |
| 6 | Identify gases and chemical leaks | Usually MWIR or LWIR at a gas-specific absorption wavelength | Cooled MCT, quantum cascade laser-based receiver, or multispectral thermal detector | Many gases absorb infrared radiation in narrow spectral regions, allowing selective detection when the sensor is matched to the target gas. | Target absorption line, spectral bandwidth, optical path length, temperature contrast, and detection limit | Gas concentration, wind, background temperature, distance, and atmospheric absorption can strongly influence results. |
| 7 | Perform low-light surveillance or night-time scene imaging | NIR/SWIR: approximately 0.7–1.7 µm; thermal imaging may use 8–14 µm | Silicon, InGaAs, or uncooled microbolometer, depending on the task | NIR and SWIR can use available moonlight or active illumination, while thermal sensors detect emitted heat without requiring visible illumination. | Minimum illumination, active illuminator compatibility, thermal sensitivity, optics, and motion blur | NIR/SWIR systems may require illumination; thermal systems generally provide less texture and lower spatial detail than visible cameras. |
| 8 | Inspect coatings, moisture, and subsurface defects in industrial materials | SWIR: approximately 1.0–2.5 µm, selected according to the material absorption feature | InGaAs or other SWIR focal-plane array | Water and many organic materials exhibit useful absorption features in the SWIR region, which can reveal differences not visible in standard RGB images. | Illumination spectrum, spectral filters, calibration target, working distance, and required contrast | Results depend on surface roughness, reflectivity, sample geometry, and the strength of the material-specific absorption feature. |
| 9 | Monitor mechanical wear, overheating, and electrical faults | LWIR 8–14 µm for ambient-temperature equipment; MWIR for hotter targets | Uncooled microbolometer or cooled MWIR detector | Thermal anomalies often appear as localized temperature differences before visible damage occurs. | Temperature range, NETD, frame rate, focus range, calibration interval, and measurement accuracy | Thermal images show apparent temperature rather than temperature alone; emissivity and reflections must be evaluated. |
| 10 | Choose a general-purpose sensor for a defined measurement environment | Select the narrowest practical band that contains the required spectral information | Detector technology matched to wavelength, temperature, speed, and budget | A wavelength matched to the physical phenomenon improves signal-to-noise ratio and can reduce unnecessary optical and processing complexity. | Required resolution, sensitivity, frame rate, working distance, cooling, environmental rating, and calibration method | A broader spectral range does not automatically provide better results; it can increase cost, noise, data volume, and calibration complexity. |